 |
|
|
|
|
|
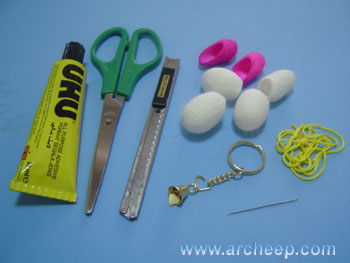
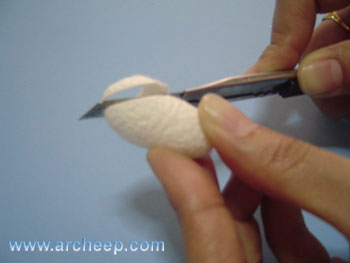
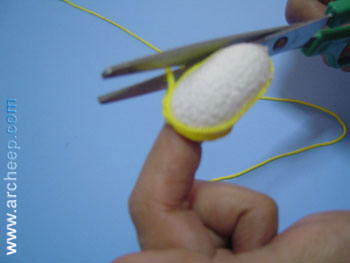
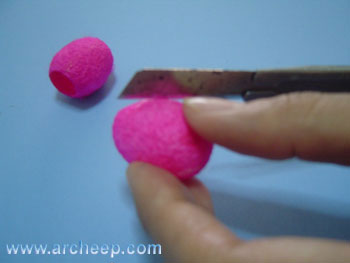
1.
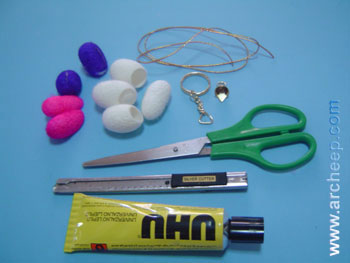
นำรังไหมมาตัดด้วยมีดคัตเตอร์
ค่อยๆตัดให้ได้รูปทรงดังรูป
(2 ชิ้น)
|
|
| |
|
|
 |
|
|
|
|
|
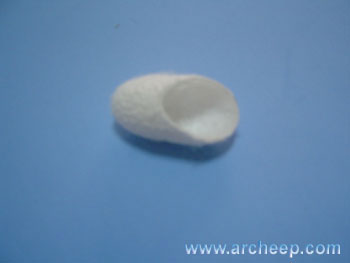
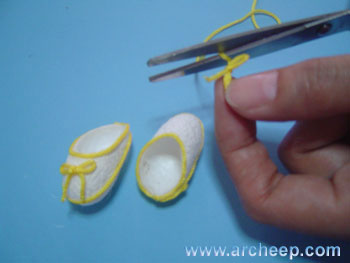
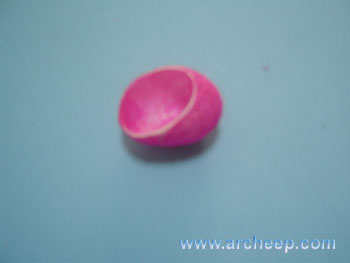
2.
พยายามตัดให้ขนาดเท่าๆกันเพื่อความสวยงาม |
|
| |
|
|
 |
|
|
|
|
|
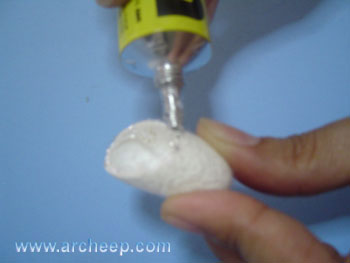
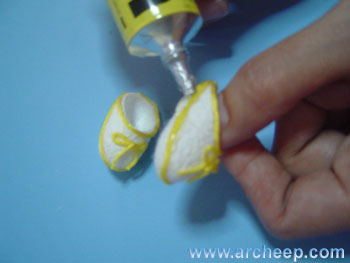
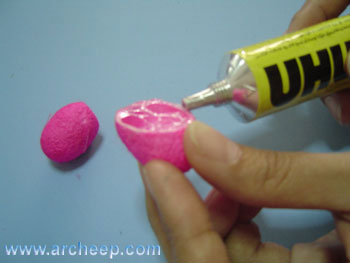
3.
ทากาวยางให้รอบขอบที่ตัดไว้ |
|
| |
|
|
 |
|
|
|
|
|
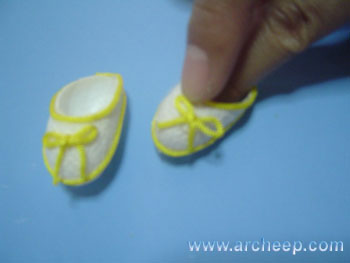
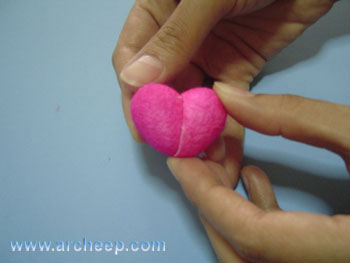
4.
นำรังไหมทั้งสองชิ้นมาประกบกันให้สนิท |
|
| |
|
|
 |
|
|
|
|
|
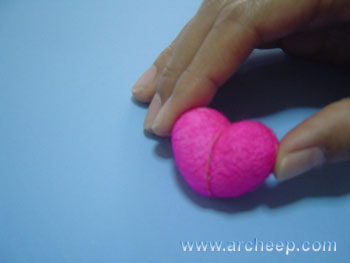
5.
จะได้รูปหัวใจดังภาพ |
|
| |
|
|
 |
|
|
|
|
|
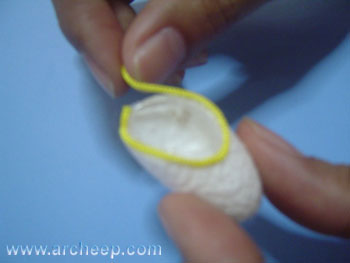
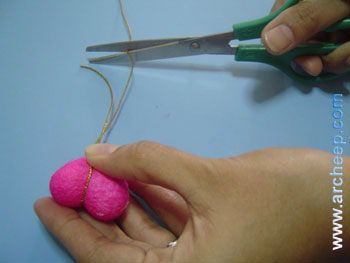
6.
วัดความยาวของดิ้นทองที่จะนำมาพันรอบรังไหมรูปหัวใจ
(ให้พันได้รอบทั้งแนวตั้งและแนวนอน) |
|
| |
|
|
 |
|
|
|
|
|
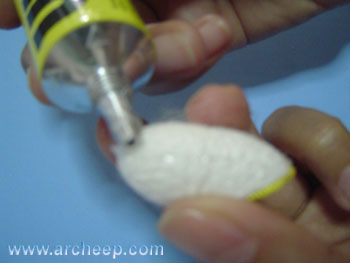
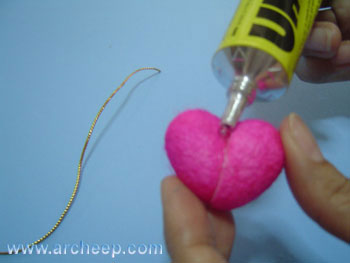
7.
ทากาวที่รอยต่อของรูปหัวใจ |
|
| |
|
|
 |
|
|
|
|
|
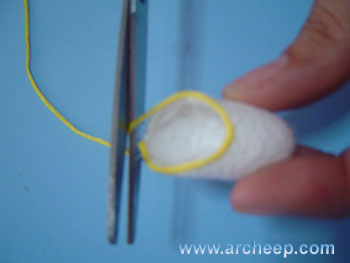
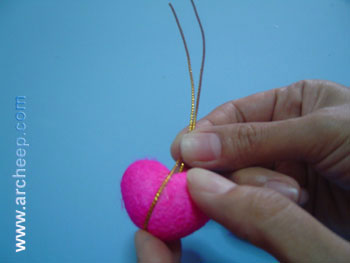
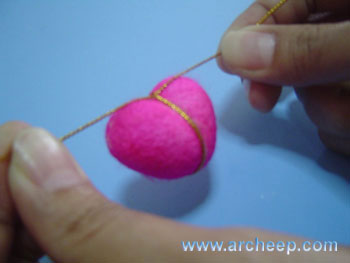
8.
นำดิ้นทองที่วัดไว้แล้วมาพันรอบรูปหัวใจ |
|
| |
|
|
 |
|
|
|
|
|
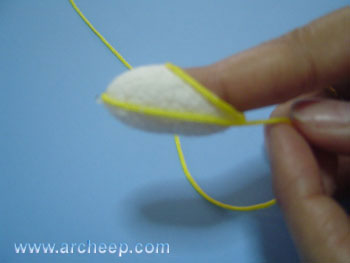
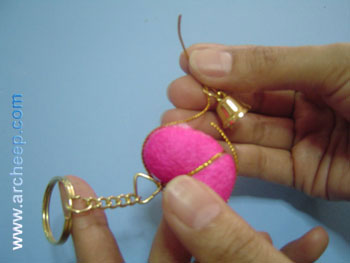
9.
จากนั้นก็ผูกปม 1 ครั้ง |
|
| |
|
|
 |
|
|
|
|
|
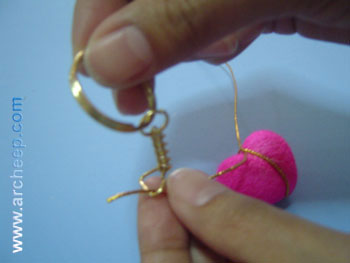
10.
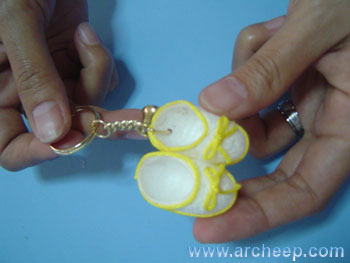
นำปลายข้างใดข้างหนึ่งร้อยเข้าไปในพวงกุญแจ
แล้วผูกปมอีกครั้ง |
|
| |
|
|
 |
|
|
|
|
|
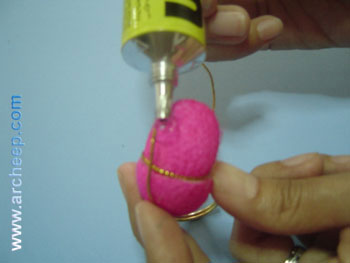
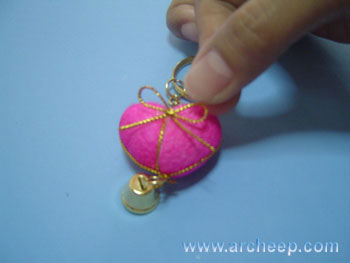
11.
ทากาวตามรอยขวางแล้วพันดิ้นทองที่เหลือให้รอบด้านขวาง |
|
| |
|
|
 |
|
|
|
|
|
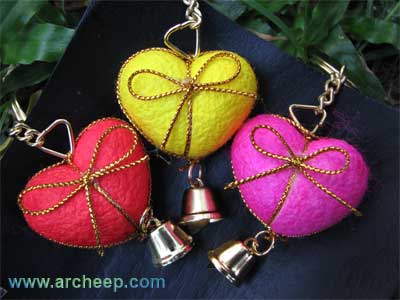
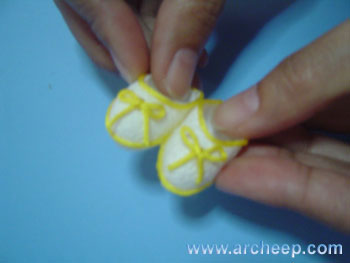
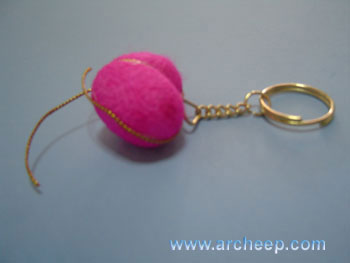
12.เมื่อพันเสร็จแล้วจะได้ลักษณะดังภาพ |
|
| |
|
|
 |
|
|
|
|
|
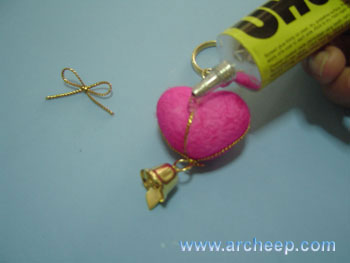
13.
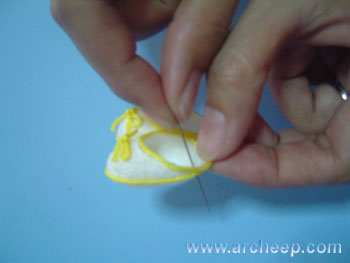
จะเหลือปลายดิ้นทองเล็กน้อย ให้ร้อยลูกกระพรวนลงไป |
|
| |
|
|
 |
|
|
|
|
|
14.
ผูกดิ้นทองให้เป็นโบว์เพื่อที่จะได้นำมาตกแต่ง |
|
| |
|
|
 |
|
|
|
|
|
15.
ทากาวลงตรงกลางของหัวใจ
เพื่อเตรียมพร้อมที่จะติดโบว์ |
|
| |
|
|
 |
|
|
|
|
|
16.
นำโบว์ติดลงไป |
|
| |
|
|
 |
|
|
|
|
|
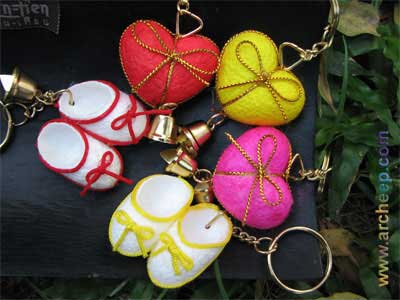
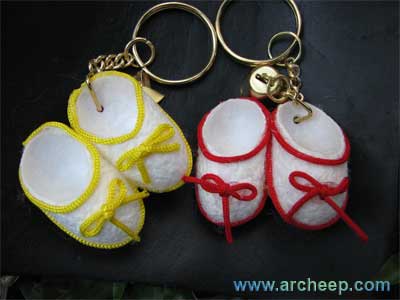
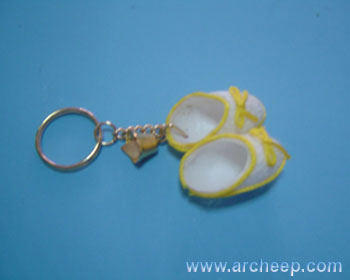
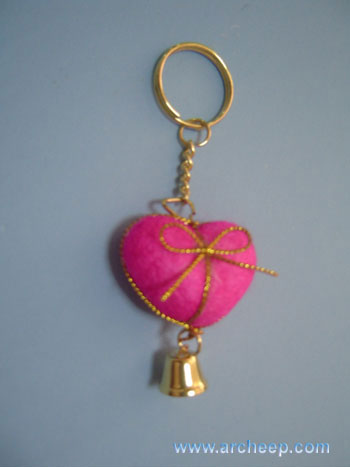
17. เสร็จแล้วคุณก็จะได้พวงกุญแจรูปหัวใจสวยงามพร้อมนำไปมอบให้คนที่คุณรักได้แล้วค่ะ... |
|
| |
|
|
| |